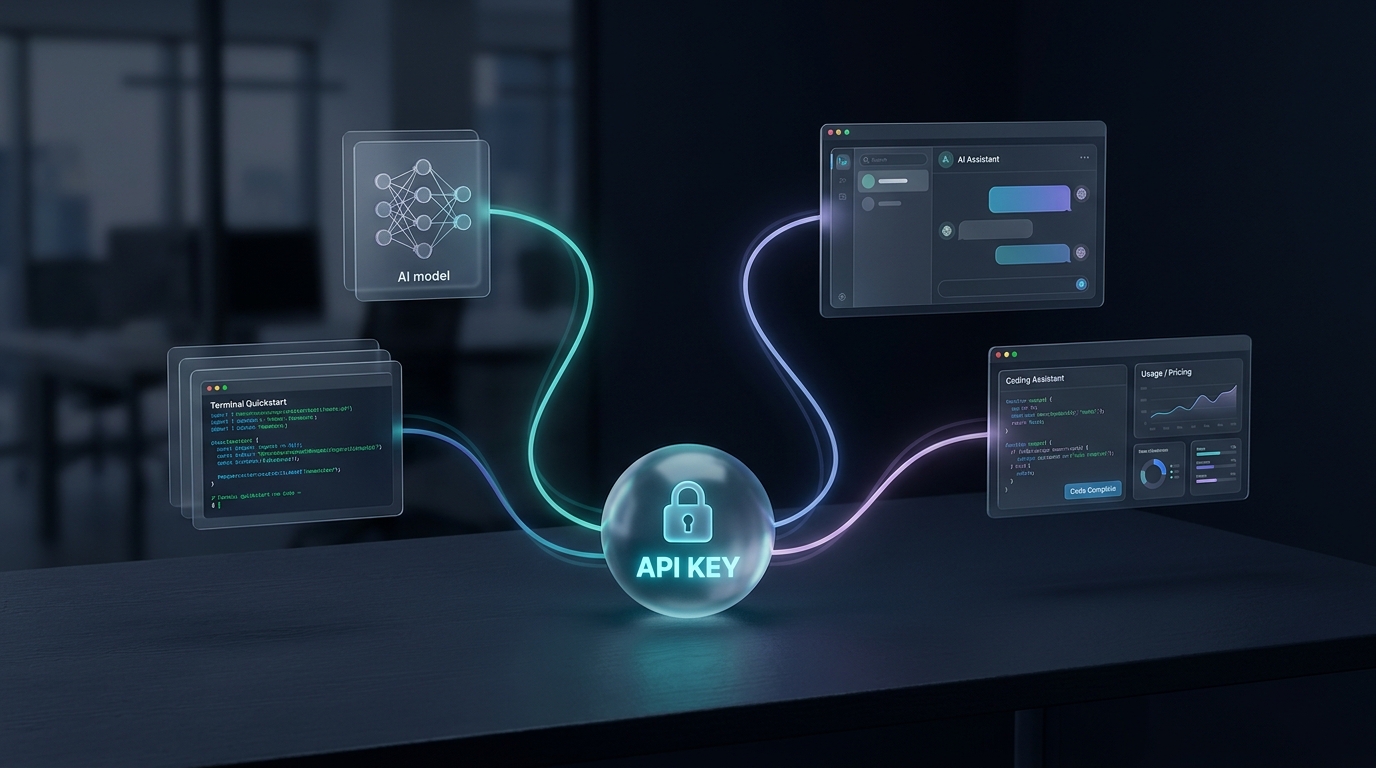
OpenAI API access guide for multi-model products: Cherry Studio setup with one key
If your team uses Cherry Studio but does not want to manage one API key for OpenAI, another for Claude, another for Gemini, and another for every new model you test, this Cherry Studio API setup guide is the practical shortcut.
As of Thursday, July 16, 2026, OpenAI's developer docs still center API access around a simple pattern: create an API key, send bearer authentication, and call an OpenAI-style endpoint from your client or SDK. Flatkey keeps that access pattern, but replaces provider sprawl with one gateway, one key, and one base URL for multi-model products. Flatkey's live homepage also explicitly states that it supports one-click configuration for Cherry Studio and uses an OpenAI-compatible base URL.
This article shows the fastest safe Cherry Studio API setup for Flatkey, what to enter in Cherry Studio, how this differs from a direct OpenAI provider setup, and when a single gateway is the better operating model.
Quick answer: Cherry Studio API setup for Flatkey
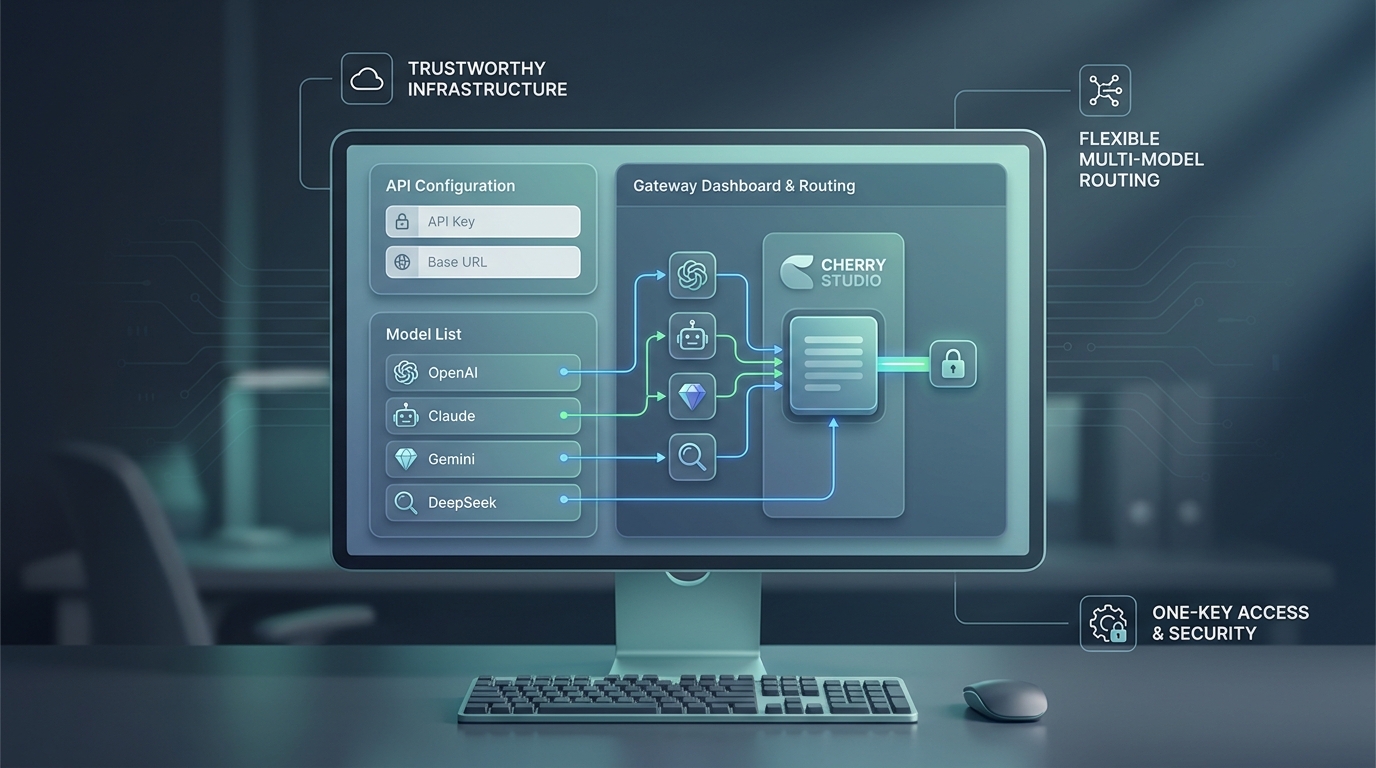
Use these settings if you want one key for multiple models inside Cherry Studio:
| Field | Value |
|---|---|
| Provider type | OpenAI-compatible custom provider |
| API key | Your Flatkey key from the dashboard |
| API address / base URL | https://router.flatkey.ai/v1 |
| Auth pattern | Bearer token, OpenAI-style |
| Model IDs | Add the exact Flatkey model IDs you want to use |
| Best fit | Teams comparing GPT, Claude, Gemini, DeepSeek, and other model families without redoing client setup |
If you only want OpenAI models and do not need unified billing, routing, or cross-provider testing, a direct OpenAI setup can still be fine. But for multi-model products, the whole point of this OpenAI API access guide is reducing provider overhead before that sprawl slows down your team.
Why this Cherry Studio API setup matters for multi-model products
Cherry Studio is useful because it gives power users a desktop surface for switching between models quickly. The friction starts when the backend access model stays fragmented.
That usually means:
- One provider login per model family
- One API key per provider
- Different balances, quotas, and billing pages
- Repeated provider setup whenever your team wants to test another model
- No shared place to compare usage or route decisions
For a solo user that may be tolerable. For multi-model products, it becomes operational drag.
Flatkey's public product positioning is relevant here because it promises one key, one OpenAI-compatible endpoint, and one dashboard across multiple model families. That is exactly why this Cherry Studio API setup is a bottom-funnel workflow topic instead of a generic AI desktop tutorial.
Before you start
Before you change anything in Cherry Studio, make sure you have:
- A Flatkey account and a usable API key.
- The exact model IDs you want to call.
- Cherry Studio installed and updated recently enough that it still supports OpenAI-compatible provider entries.
- A clear decision on whether this is a personal setup or a shared team setup.
The most important detail is not the desktop app itself. It is the access model behind it. If you want one key for multiple model families, decide that first, then configure Cherry Studio once around that decision.
Step 1: Create or copy a Flatkey API key
Open the Flatkey dashboard and generate or copy the key you want Cherry Studio to use.
This follows the same basic access pattern developers already know from OpenAI's docs:
- an API key
- bearer-style authentication
- an OpenAI-style endpoint
The difference is scope. A direct OpenAI key gives you OpenAI access. A Flatkey key is meant to give Cherry Studio one access layer for multiple supported model families.
If this Cherry Studio instance belongs to a team, do not paste a personal experimental key that you plan to delete later. Use a key with a clear ownership and billing path.
Step 2: Add an OpenAI-compatible provider in Cherry Studio
In Cherry Studio, add a custom provider entry that uses the OpenAI-compatible flow.
Cherry Studio UI labels can change by version, so do not get stuck on one exact button name. The important thing is that your Cherry Studio API setup uses the provider path that accepts:
- an API key
- an API address or base URL
- custom model IDs
If Cherry Studio offers both a direct OpenAI provider and a generic OpenAI-compatible provider, choose the OpenAI-compatible path for Flatkey.
That keeps the configuration aligned with Flatkey's public routing endpoint instead of tying the desktop client to one upstream vendor.
Step 3: Enter the API key and API address
Paste your Flatkey key into the API key field, then set the API address to:
https://router.flatkey.ai/v1
That base URL matters. Flatkey's homepage tells users to point OpenAI-compatible clients to https://router.flatkey.ai/v1, and that is the right mental model for this OpenAI API access guide as well.
If your Cherry Studio check fails, the base URL is one of the first things to verify.
Use these rules:
- Do not point Cherry Studio at the Flatkey marketing site.
- Do not paste only the domain without
/v1. - Do not mix a direct OpenAI key with the Flatkey router URL.
- Do not mix a Flatkey key with a direct provider endpoint.
The key and the endpoint have to belong to the same access layer.
Step 4: Add the exact model IDs you want to use
After the key and base URL are in place, add the model IDs you actually want Cherry Studio to show.
This is where a strong Cherry Studio API setup becomes operationally useful. Instead of rebuilding provider access every time you test another model, you keep the same client configuration and swap model IDs inside the same provider surface.
Good practice:
- Start with a short approved model list instead of every model you can find.
- Use the model IDs exactly as they appear in Flatkey's current catalog.
- Group models by workload, not by hype.
Example grouping:
| Use case | Recommended setup habit |
|---|---|
| General chat and drafting | Add one default everyday model and one fallback |
| Reasoning or difficult analysis | Add one stronger model for deeper prompts |
| Low-cost experimentation | Add one cheaper model for volume testing |
| Cross-provider comparison | Add one model from each family you actually compare |
That is what makes this OpenAI API access guide for multi-model products different from a basic single-provider walkthrough.
Step 5: Run Cherry Studio's connection check
Once the provider is saved, run Cherry Studio's built-in check or send a short test prompt.
Your first test should be simple:
- one short prompt
- one known model ID
- no advanced workflow logic
If the check succeeds, your Cherry Studio API setup is functionally correct. After that, test a second model family before you call the setup complete. The goal is not only proving that one request works. The goal is proving that the shared access layer works across the model families your product actually uses.
The direct OpenAI setup vs one gateway
This is the practical decision point.
Direct OpenAI setup is usually enough when:
- you only need GPT models
- your billing is simple
- you are not comparing providers regularly
- you do not mind provider-specific setup
A unified gateway is usually better when:
- Cherry Studio is part of a broader multi-model workflow
- your team switches between providers often
- you want one billing surface instead of several
- you want one access path for desktop testing and product integration
- you need a cleaner handoff between operators, builders, and finance
In other words, a direct OpenAI connection solves access to OpenAI. A gateway-oriented Cherry Studio API setup solves model access operations.
Troubleshooting Cherry Studio API setup
If Cherry Studio does not connect, check these items in order.
1. Wrong base URL
Use https://router.flatkey.ai/v1, not the homepage and not a provider-native endpoint.
2. Wrong key-endpoint pairing
If the key came from Flatkey, the endpoint should also be Flatkey. If the endpoint is direct OpenAI, use an OpenAI key instead.
3. Wrong model ID
The provider can be configured correctly and still fail if the model ID is invalid, unavailable, or mistyped.
4. Cherry Studio provider type mismatch
If you accidentally chose a provider flow that expects direct OpenAI behavior instead of a generic OpenAI-compatible provider, re-create the entry.
5. Too many models added at once
Keep the first pass small. A narrower model list makes this Cherry Studio API setup easier to verify and maintain.
Recommended team setup
For teams shipping multi-model products, the cleanest approach is:
- Define the approved models first.
- Create a team-owned Flatkey key.
- Use one OpenAI-compatible provider entry in Cherry Studio.
- Add only the model IDs tied to real workloads.
- Review usage and pricing from the shared billing surface.
This helps Cherry Studio stay a testing and operator surface instead of turning into another unmanaged credential island.
If you want the broader architecture view after this Cherry Studio API setup, read Flatkey's OpenAI-compatible API migration guide and then review the current pricing page.
FAQ
Does Cherry Studio support OpenAI-compatible APIs?
Flatkey's current homepage explicitly says it supports one-click configuration for Cherry Studio and adapts to OpenAI-compatible workflows. In practice, this guide assumes Cherry Studio can accept a custom provider with an API key, base URL, and model IDs.
What API address should I use for Flatkey in Cherry Studio?
Use:
https://router.flatkey.ai/v1
That is the current public base URL Flatkey tells users to point OpenAI-compatible clients at.
Where do I get the API key for this Cherry Studio API setup?
Generate or copy it from the Flatkey dashboard. The key should match the endpoint you use.
Can one Flatkey key access multiple Cherry Studio models?
Yes, that is the point of using a unified access layer for multi-model products. Add the model IDs you want to use under the same provider entry, then verify each one.
Should I keep a direct OpenAI provider in Cherry Studio too?
Only if you have a real operational reason. If Flatkey is your chosen shared access layer, using two overlapping provider paths usually creates more confusion, not less.
Final check
The shortest successful Cherry Studio API setup for multi-model products is:
- Create a Flatkey key.
- Add an OpenAI-compatible provider in Cherry Studio.
- Set the base URL to
https://router.flatkey.ai/v1. - Add the model IDs you actually use.
- Run a check on at least two model families.
If your team wants one gateway instead of separate provider credentials, that is the simplest workable setup path.